

Hey there! As a supplier of Dental Implant Screw Drivers, I often get asked about how to sterilize these important tools. It's a crucial step in maintaining the safety and effectiveness of dental implants, so I'm here to share some tips and best practices.
First off, why is sterilization so important? Well, dental implant procedures involve direct contact with the patient's mouth and bone, which means there's a high risk of infection if the tools aren't properly cleaned and sterilized. By following the right sterilization methods, we can ensure that our screw drivers are free from harmful bacteria, viruses, and other pathogens, reducing the risk of post - operative complications for patients.
Let's start with the pre - sterilization cleaning. Before you even think about sterilizing your dental implant screw driver, you need to give it a good clean. This involves removing any visible debris, such as blood, saliva, or tissue fragments. You can use a soft - bristled brush and a mild detergent to gently scrub the screw driver. Make sure to get into all the nooks and crannies, especially the tip where it makes contact with the implant. Rinse it thoroughly under running water to remove all the soap residue.
After the initial cleaning, it's time to move on to the disinfection stage. There are several disinfection methods available, but one of the most common is using a chemical disinfectant. You can soak the screw driver in a disinfectant solution for the recommended amount of time. Make sure to follow the manufacturer's instructions carefully, as different disinfectants have different contact times and concentrations. Some popular disinfectants for dental instruments include glutaraldehyde - based solutions, which are effective against a wide range of microorganisms.
Once the disinfection is done, it's time for the real deal: sterilization. There are a few different sterilization methods you can choose from, and each has its own pros and cons.
Autoclaving
Autoclaving is one of the most widely used sterilization methods in dental clinics. It uses high - pressure steam to kill all forms of microbial life, including bacteria, viruses, and spores. To autoclave a dental implant screw driver, you first need to place it in a suitable autoclave pouch or container. Make sure the pouch is labeled with the date and contents. Then, load it into the autoclave and set the appropriate cycle. The typical autoclaving cycle for dental instruments is around 121 - 134 degrees Celsius for 15 - 30 minutes, depending on the size and type of the load.
Autoclaving is great because it's fast, effective, and relatively inexpensive. However, it can be a bit harsh on some materials, so make sure your screw driver is made of a material that can withstand the high heat and pressure.

Dry Heat Sterilization
Dry heat sterilization is another option. It works by using hot air to kill microorganisms. You can use a dry heat oven to sterilize your screw driver. The process usually takes longer than autoclaving, typically around 160 - 170 degrees Celsius for 2 - 4 hours. Dry heat sterilization is suitable for instruments that can't tolerate moisture, but it's not as effective against some types of spores as autoclaving.
Chemical Vapor Sterilization
Chemical vapor sterilization uses a combination of chemicals and heat to sterilize instruments. It's a good option for instruments that are sensitive to moisture and high temperatures. The screw driver is placed in a special chamber, and a chemical vapor is introduced. The process usually takes around 20 - 40 minutes, depending on the equipment and the type of chemical used.
Now, let's talk about some tips to keep in mind during the sterilization process. First, always wear appropriate personal protective equipment (PPE), such as gloves and goggles, when handling disinfectants and during the autoclaving process. This will protect you from any potential chemical splashes or steam burns.
Second, make sure to regularly maintain and test your sterilization equipment. Autoclaves and dry heat ovens should be calibrated and serviced regularly to ensure they are working properly. You can use biological indicators, such as spore strips, to test the effectiveness of your sterilization process.
Third, store your sterilized screw drivers properly. After sterilization, place them in a clean, dry, and closed container to prevent re - contamination. You can use Dental Implant Screwdriver Universal Box to keep your screw drivers organized and protected.
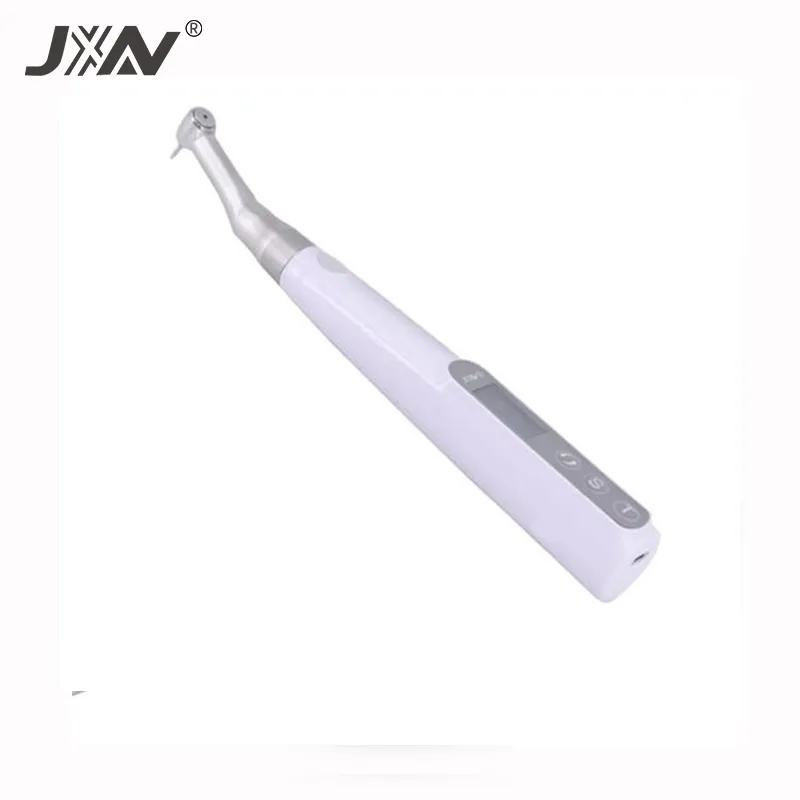
In addition to the sterilization of the screw drivers themselves, it's also important to consider the accessories and equipment that are used in conjunction with them. For example, if you're using a Dental Wireless Implant Electric Wrench Torque or a Dental Implant Torque Wrench, make sure to follow the manufacturer's instructions for cleaning and sterilization of these devices as well.
As a supplier, I understand the importance of providing high - quality products and accurate information. That's why I'm always here to answer any questions you might have about our Dental Implant Screw Drivers and their sterilization. If you're in the market for dental implant screw drivers or related products, I encourage you to reach out to me for more details and to discuss your specific needs. Whether you're a small dental clinic or a large dental hospital, we can work together to find the right solutions for you.
In conclusion, sterilizing a dental implant screw driver is a multi - step process that requires careful attention to detail. By following the proper cleaning, disinfection, and sterilization methods, you can ensure the safety and effectiveness of your dental implant procedures. If you have any further questions or if you're interested in purchasing our products, don't hesitate to get in touch. Let's work together to provide the best dental care for your patients.
References
- "Dental Instrument Sterilization and Disinfection Guidelines", American Dental Association
- "Principles and Practice of Sterilization in Healthcare Facilities", World Health Organization