

As a trusted dental accessories supplier, I understand the critical importance of maintaining the cleanliness and hygiene of dental accessories. Not only does proper cleaning ensure the longevity of these tools, but it also plays a pivotal role in preventing cross - contamination and ensuring patient safety. In this blog, I'll share comprehensive and scientifically - backed methods on how to clean different types of dental accessories.
Cleaning Low Speed Handpiece Cartridge Rotor
The Low Speed Handpiece Cartridge Rotor is a vital component in dental procedures. It is often exposed to saliva, blood, and dental debris during use. To clean it effectively, follow these steps:
Pre - cleaning
First, disconnect the handpiece from the air and water supply. This step is crucial to prevent any accidental activation during the cleaning process. Then, use a soft brush to gently remove any visible debris from the exterior of the rotor. This can be done by brushing in a circular motion, ensuring that all crevices and grooves are covered.
Immersion
Prepare a cleaning solution according to the manufacturer's instructions. Usually, a mild detergent or a specialized dental instrument cleaner is recommended. Immerse the rotor in the solution for the specified time, which is typically around 10 - 15 minutes. This immersion helps to loosen any stubborn debris and disinfect the surface.
Ultrasonic Cleaning
After immersion, transfer the rotor to an ultrasonic cleaner. Ultrasonic cleaning uses high - frequency sound waves to create tiny bubbles that implode, removing dirt and contaminants from hard - to - reach areas. Run the ultrasonic cleaner for the recommended time, usually 5 - 10 minutes. This process can significantly enhance the cleaning effect.
Rinsing and Drying
Once the ultrasonic cleaning is complete, rinse the rotor thoroughly with clean water to remove any remaining cleaning solution. Use compressed air to dry the rotor completely. Make sure there is no moisture left, as it can lead to corrosion and damage to the internal components.
Cleaning Dental Handpiece Burs
Dental Handpiece Burs are used for cutting, grinding, and shaping teeth. They accumulate a large amount of dental debris and bacteria during use. Here's how to clean them:

Initial Removal of Debris
Immediately after use, use a dental brush or a jet of water to remove as much debris as possible from the burs. This should be done carefully to avoid damaging the cutting edges of the burs.
Chemical Disinfection
Soak the burs in a suitable chemical disinfectant. The choice of disinfectant depends on the type of burs and the manufacturer's recommendations. Common disinfectants include glutaraldehyde - based solutions or hydrogen peroxide. Immerse the burs for the required time, usually 20 - 30 minutes.
Autoclaving
After chemical disinfection, burs should be autoclaved. Autoclaving is a high - pressure steam sterilization process that effectively kills all forms of microorganisms, including bacteria, viruses, and fungi. Follow the autoclave's operating instructions, ensuring the correct temperature, pressure, and time settings. For most dental burs, a temperature of 121 - 134°C for 15 - 30 minutes is recommended.
Inspection
After autoclaving, inspect the burs for any signs of damage or wear. If a bur is damaged, it should be discarded to ensure the quality of dental procedures.
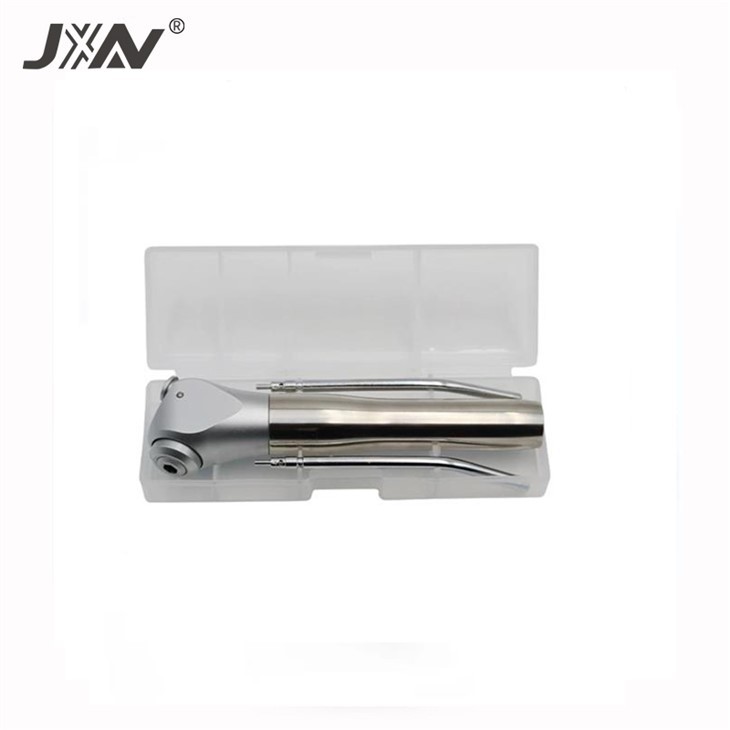
Cleaning Dental Air Water Triple Syringe
The Dental Air Water Triple Syringe is used to deliver air, water, or a combination of both during dental procedures. It can be a source of cross - contamination if not cleaned properly.
Disassembly
First, disassemble the syringe according to the manufacturer's instructions. This usually involves removing the nozzle, the valve, and other removable parts.
Cleaning the Nozzle
Soak the nozzle in a cleaning solution to remove any debris or blockages. Use a fine - tipped brush to clean the internal channels of the nozzle. Rinse the nozzle thoroughly with water to ensure all cleaning solution is removed.
Cleaning the Body
The body of the syringe can be cleaned by flushing it with a cleaning solution using a syringe or a specialized cleaning device. This helps to remove any contaminants inside the air and water channels.
Reassembly and Testing
After all parts are clean and dry, reassemble the syringe. Test the syringe to ensure that it is functioning properly, with a proper flow of air and water.
General Tips for Cleaning Dental Accessories
- Follow Manufacturer's Instructions: Every dental accessory has specific cleaning requirements. Always refer to the manufacturer's guidelines to ensure proper cleaning and avoid damage.
- Use Personal Protective Equipment (PPE): When handling cleaning solutions and contaminated accessories, wear gloves, goggles, and a mask to protect yourself from potential hazards.
- Regular Maintenance: In addition to regular cleaning, perform routine maintenance on dental accessories, such as lubrication for moving parts, to ensure their optimal performance.
Conclusion
Proper cleaning of dental accessories is an essential part of dental practice. By following the methods described above, you can ensure the cleanliness, functionality, and longevity of these tools, as well as the safety of your patients.
If you are interested in purchasing high - quality dental accessories or have any questions about cleaning and maintenance, I encourage you to reach out to us. We are always ready to provide you with professional advice and top - notch products. Our team of experts can assist you in finding the right dental accessories for your specific needs. Whether you are a small dental clinic or a large dental hospital, we have the solutions to meet your requirements. Contact us today to start a fruitful business relationship.
References
- Dental Instrument Cleaning and Sterilization Guidelines, American Dental Association.
- Manufacturer's Manuals for Low Speed Handpiece Cartridge Rotor, Dental Handpiece Burs, and Dental Air Water Triple Syringe.