

Hey there! As a supplier of Dental Implant Torque Wrenches, I often get asked about how to adjust the torque setting on these nifty tools. Today, I'm gonna break it down for you in a super easy - peasy way.
First off, let's talk a bit about why adjusting the torque setting is so important. When it comes to dental implants, getting the right torque is crucial. Too little torque, and the implant might not be secure enough, which can lead to all sorts of problems down the line, like loosening or even failure of the implant. On the other hand, too much torque can damage the implant, the surrounding bone, or the abutment. So, finding that sweet spot is key.
Now, let's get into the nitty - gritty of adjusting the torque setting on a Dental Implant Torque Wrench.
Understanding Your Torque Wrench
The first step is to really get to know your torque wrench. Different models might have different ways of adjusting the torque, but most of them share some common features.
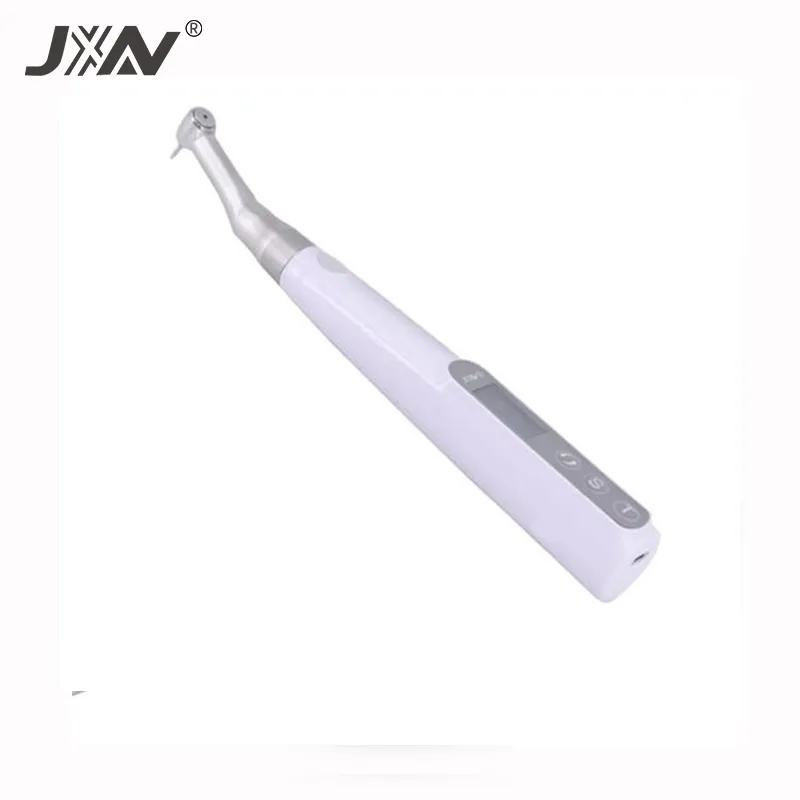
Most dental implant torque wrenches have a scale or a digital display that shows the current torque setting. Some are mechanical, with a dial or a knob that you turn to change the setting. Others are electronic, where you can use buttons to increase or decrease the torque.
Mechanical Torque Wrenches
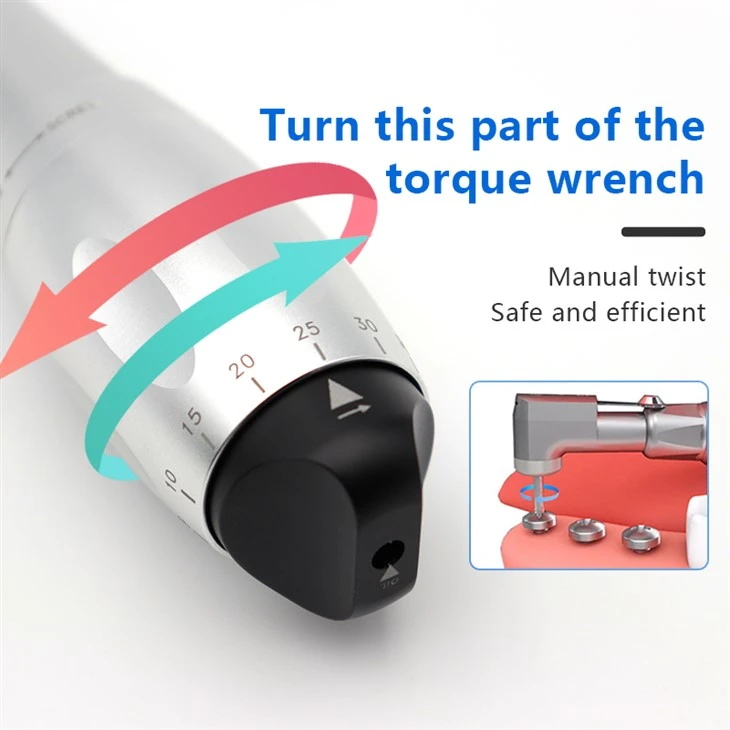
If you've got a mechanical torque wrench, adjusting the setting is usually a matter of turning a dial or a knob.
- Locate the Adjustment Mechanism: This is typically a large dial or a knob on the handle or the body of the wrench. It might be marked with numbers or symbols indicating the torque values.
- Set the Desired Torque: Look at the scale next to the dial. Turn the dial clockwise to increase the torque and counter - clockwise to decrease it. Make sure to line up the pointer or the marker on the scale with the desired torque value. For example, if you need to set the torque to 35 Ncm, turn the dial until the pointer shows 35 on the scale.
- Check the Setting: Once you've set the torque, give the wrench a little wiggle or a tap to make sure the setting is stable. You can also double - check the setting by looking at the scale again.
Electronic Torque Wrenches
Electronic torque wrenches are a bit more high - tech, but they're also pretty easy to use.
- Power On the Wrench: Most electronic torque wrenches have a power button. Press it to turn on the wrench. The digital display will light up, showing the current torque setting.
- Navigate the Menu: Use the buttons on the wrench to navigate through the menu. There might be an "Up" and a "Down" button to increase or decrease the torque, and an "Enter" or "Set" button to confirm the setting.
- Set the Torque: Press the "Up" or "Down" button to adjust the torque value on the display. When you reach the desired torque, press the "Enter" or "Set" button to lock in the setting.
- Verify the Setting: After setting the torque, the display should show the correct value. You can also do a quick test by applying a little pressure to the wrench to make sure it's working as expected.
Factors to Consider When Adjusting Torque
Adjusting the torque isn't just about turning a dial or pressing a button. There are a few factors you need to keep in mind.
Implant Type and Size
Different dental implants require different torque values. Smaller implants usually need less torque, while larger ones need more. The manufacturer of the implant will usually provide a recommended torque range. Make sure to follow these guidelines to ensure the best results.
Abutment Type
The type of abutment you're using also affects the torque setting. Some abutments are designed to be tightened with a specific amount of torque. Using the wrong torque can cause the abutment to loosen or damage the implant.
Bone Quality
The quality of the patient's bone is another important factor. If the bone is dense and healthy, you might be able to use a higher torque. However, if the bone is weak or porous, you'll need to use a lower torque to avoid damaging the bone.
Tips for Accurate Torque Adjustment
- Calibrate Regularly: Just like any other tool, torque wrenches need to be calibrated regularly to ensure accurate readings. Check the manufacturer's instructions for how often to calibrate your wrench.
- Use a Torque Tester: If you're not sure if your torque wrench is accurate, you can use a torque tester. This is a device that measures the actual torque applied by the wrench. Compare the reading on the tester with the setting on the wrench to make sure they match.
- Keep the Wrench Clean: Dirt, debris, and lubricants can affect the performance of the torque wrench. Make sure to clean the wrench regularly, especially after each use.
Other Related Dental Implant Tools
While we're on the topic of dental implant tools, I also want to mention a couple of other products that might come in handy. The Dental Wireless Implant Electric Wrench Torque is a great option if you're looking for a more advanced and convenient tool. It offers wireless operation and precise torque control.
And then there's the Dental Implant Screwdriver Universal Box. This box comes with a variety of screwdrivers that are compatible with different types of dental implants. It's a great way to keep all your screwdrivers organized and easily accessible.
Conclusion
Adjusting the torque setting on a dental implant torque wrench might seem a bit intimidating at first, but once you understand how it works, it's actually pretty straightforward. Whether you've got a mechanical or an electronic wrench, following the steps I've outlined above will help you set the torque accurately every time.
If you're in the market for a dental implant torque wrench or any of the other related tools I mentioned, don't hesitate to reach out. We're here to help you find the right products for your needs and ensure that you're getting the best performance out of them. Contact us to start a procurement discussion and let's find the perfect solutions for your dental practice.
References
- Dental Implant Handbook: A Comprehensive Guide for Clinicians
- Manufacturer's Instructions for Dental Implant Torque Wrenches